Detailed step by step installation guide
Setting up OpFlowLab for optical flow calculations (Windows)
Step 0: Presystem checks
Please ensure that your device has a NVIDIA graphics card with the latest device drivers installed.
Tip
All the optical flow algorithms require an NVIDIA graphics card with CUDA support.
However, due to the need for specialized hardware, the NVIDIA hardware optical flow requires a Turing generation or newer graphics card. Please select a different optical flow algorithm if such hardware are not available.
Examples of these cards include:
Turing generation
GeForce RTX 20 series: 2060, 2060 Super, 2070, 2070 Super, 2080, 2080 Super, 2080 Ti
Quadro RTX series: 3000, 4000, 5000, 6000, 8000
Ampere generation
GeForce RTX 30 series: 3060 Ti, 3070, 3080, 3090
A series: A6000, A40, A100
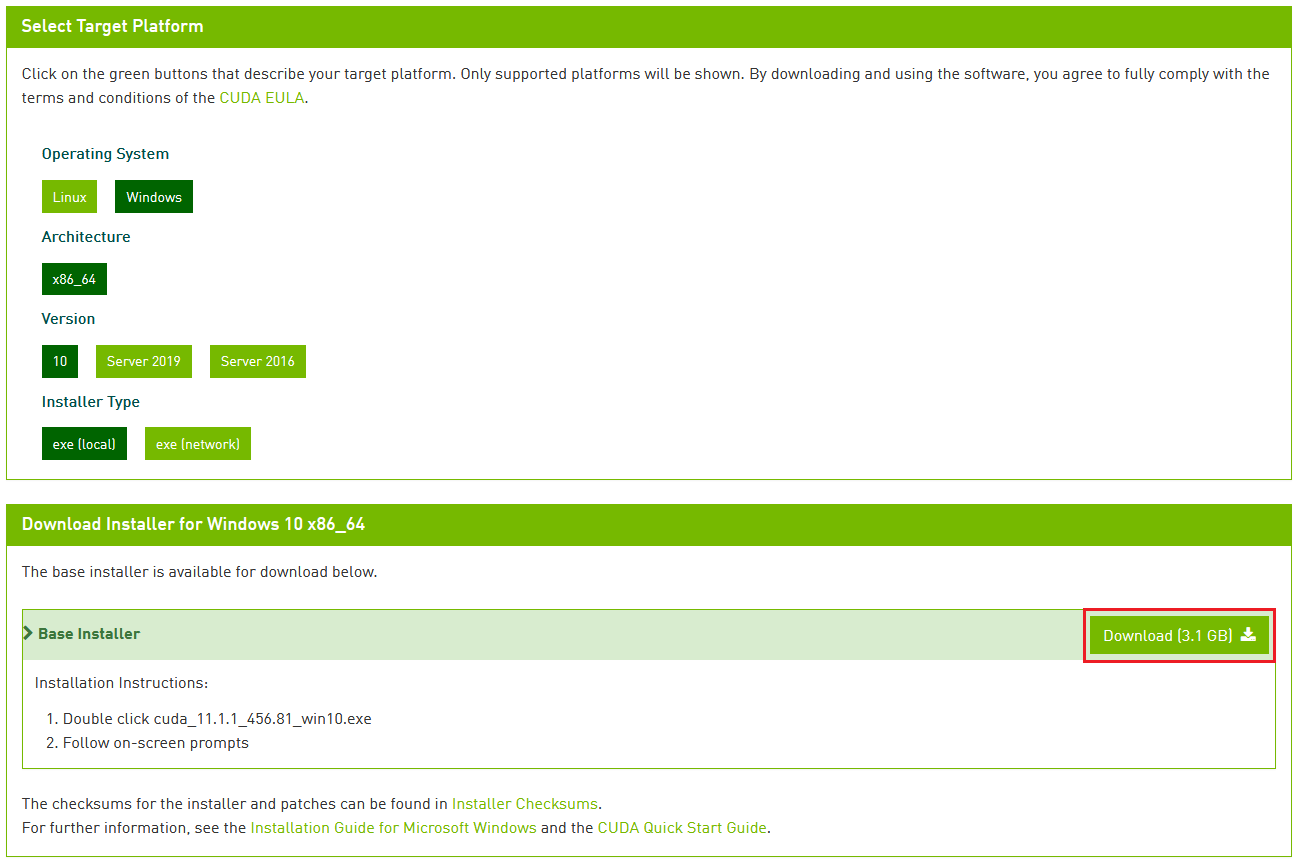
Step 1a: Download the CUDA toolkit 11.1 installer
Download the CUDA toolkit 11.1 installer from https://developer.nvidia.com/cuda-11.1.1-download-archive. For Windows devices, the following target platform can be selected. Either installer type can be used for the installation process.
Step 1b: Install the CUDA toolkit 11.1
The express installation option can be chosen to ensure that the required files are installed
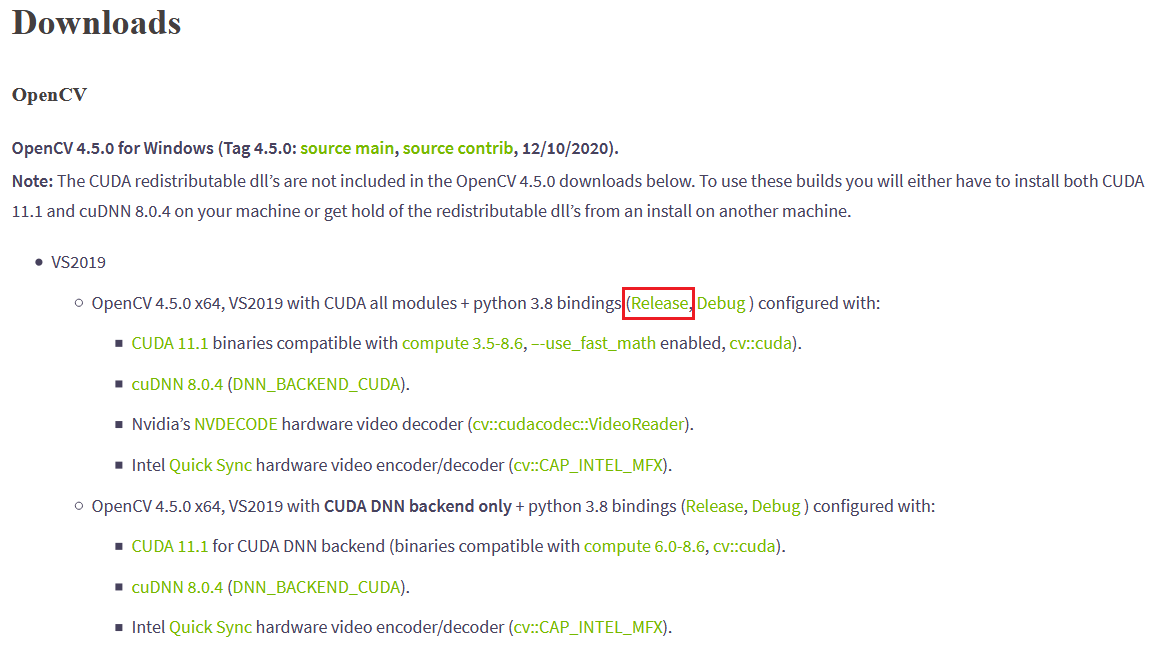
Step 2a: Download OpenCV binaries
The OpenCV binaries can be downloaded from https://jamesbowley.co.uk/downloads/. Please download the release version of OpenCV 4.5.0 from the link suggested.
Attention
Which version of OpenCV to choose?
The OpFlowLab executable (0.0.3) is compiled for OpenCV 4.5.0 with the CUDA module for CUDA 11.1. Please ensure that your version of OpenCV supports this.
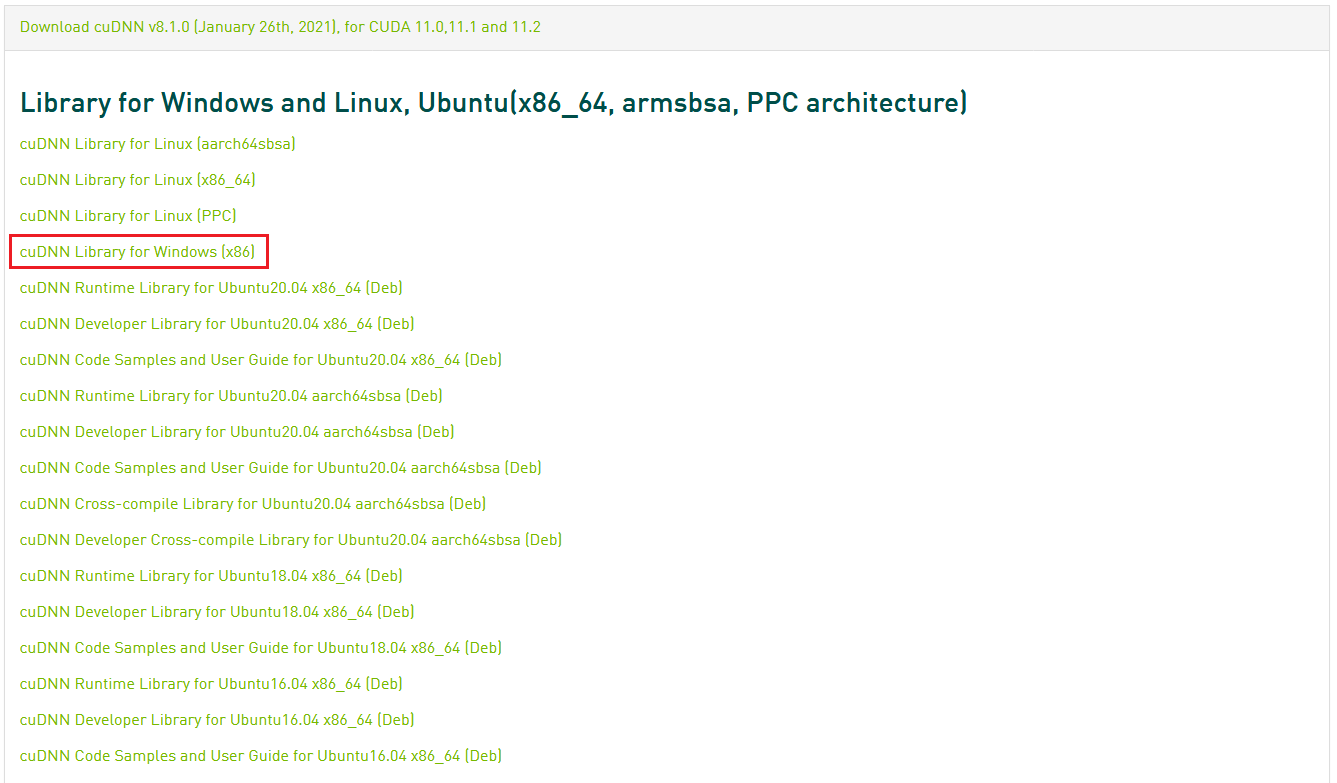
Step 2b: Download the cuDNN library
The cuDNN library can be download from https://developer.nvidia.com/cudnn. A free account needs to be created with the NVIDIA Developer Program. Please select the cuDNN version for CUDA 11.1.
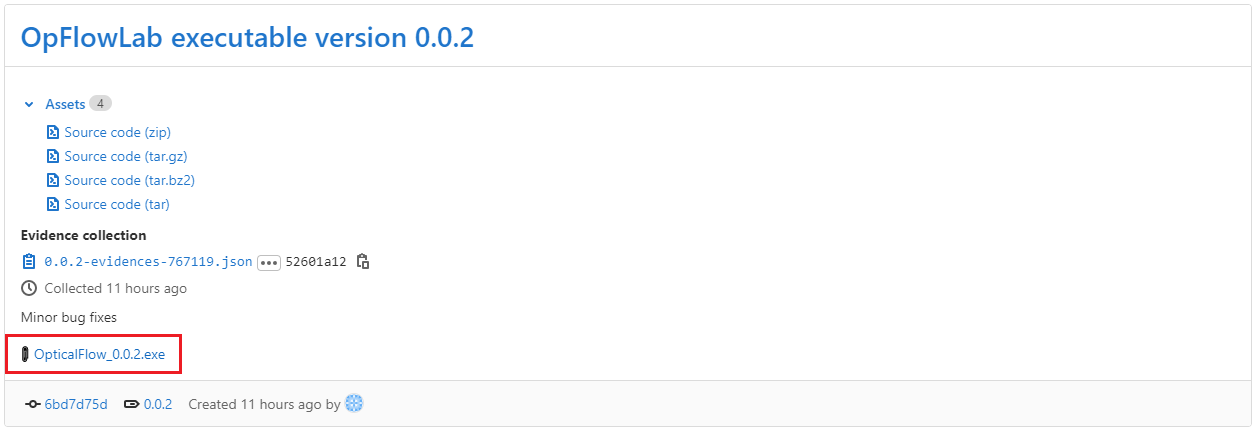
Step 2c: Download the OpFlowlab executable
Download the OpFlowLab executable from https://gitlab.com/xianbin.yong13/optical-flow-opencv/-/releases.
Attention
What is the “OpFlowLab executable”?
The OpFlowLab executable is an executable file that calls the required OpenCV functions to calculate the velocity field. This executable is called from OpFlowLab during the calculation of optical flow velocities.
Certain web browsers (e.g. Microsoft Edge/Google Chrome) flags the file as suspicious due to the file being an executable with low download counts. However, the file is safe and can be whitelisted.
Alternatively, the executable can be built from source. For more information, see building from source and https://gitlab.com/xianbin.yong13/optical-flow-opencv
Step 3: Extract OpFlowLab executable to a new folder
Create a new folder in a convenient location (e.g. on the desktop)
Place OpFlowLab executable in that folder
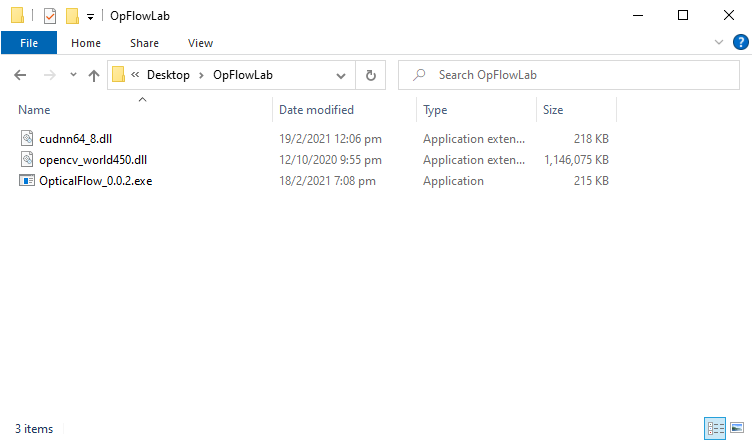
Step 4: Place opencv binary in the same folder with the OpFlowLab executable
Extract OpenCV binaries (7-Zip can be installed from https://www.7-zip.org/)
Locate opencv_world450.dll (in install/x64/vc16/bin/ for the extracted binaries)
Place opencv_world450.dll in the same folder as the OpFlowLab executable
Step 5: Place cuDNN dll in the same folder with the OpFlowLab executable
Extract cuDNN download
Locate cudnn64_8.dll (in cuda/bin/ for the extracted cuDNN download)
Place cudnn64_8.dll in the same folder as the OpFlowLab executable
Step 6: Point OpFlowLab to the directory containing the OpFlowLab executable
Start OpFlowLab by running the following command in an interactive shell:
$ opflowlab
Go to the Advanced config tab
Locate the directory of the OpFlowLab executable
Save the settings
